rsyslog 5.8.7 (v5-stable) released
This is a bug-fixing release. The most important patches resolve instabilities with RFC5424 header fields and information loss when non-wellformed messages are submitted to the system log socket.
ChangeLog:
http://www.rsyslog.com/changelog-for-5-8-7-v5-stable/
Download:
http://www.rsyslog.com/rsyslog-5-8-7-v5-stable/
As always, feedback is appreciated.
Best regards,
Tim Eifler
rsyslog 5.8.7 (v5-stable)
Download file name: rsyslog 5.8.7 (stable)
rsyslog 5.8.7 (stable)
md5sum: d806a91de534d6e33d7d1c1138cfdd37
Author: Rainer Gerhards (rgerhards@adiscon.com)
Version: 5.8.7 File size: 2.383 MB
Changelog for 5.8.7 (v5-stable)
Version 5.8.7 [V5-stable] 2012-01-17
- bugfix: instabilities when using RFC5424 header fields
Thanks to Kaiwang Chen for the patch - bugfix: imuxsock did truncate part of received message if it did not contain a proper date. The truncation occured because we removed that part of the messages that was expected to be the date.
closes: http://bugzilla.adiscon.com/show_bug.cgi?id=295 - bugfix: potential abort after reading invalid X.509 certificate
closes: http://bugzilla.adiscon.com/show_bug.cgi?id=290
Thanks to Tomas Heinrich for the patch - bugfix: stats counter were not properly initialized on creation FQDN hostname for multihomed host was not always set to the correct name if multiple aliases existed. Thanks to Tomas Heinreich for the patch.
How To setup EventLogMonitor V2 Service
Note: This guide explains how to set up the EventLog Monitor Service for Windows Vista. These steps are not applicable if you are using Windows XP.
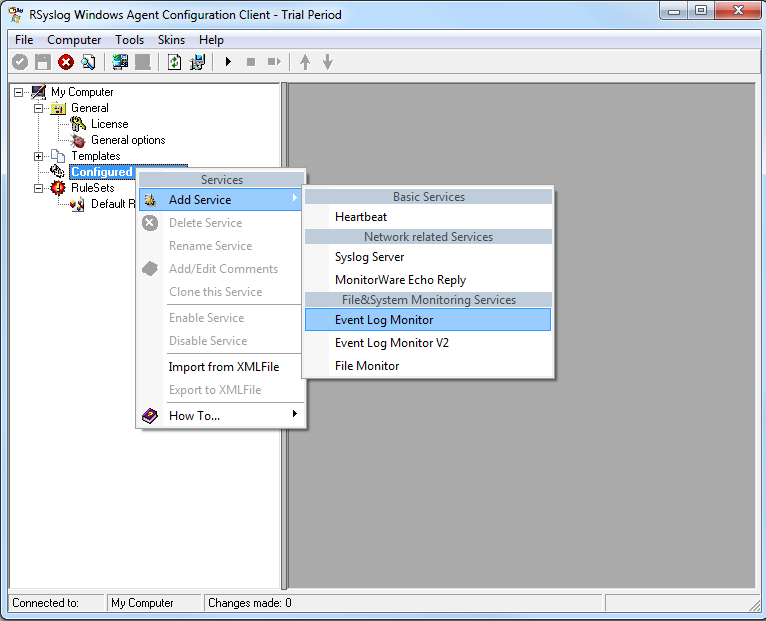
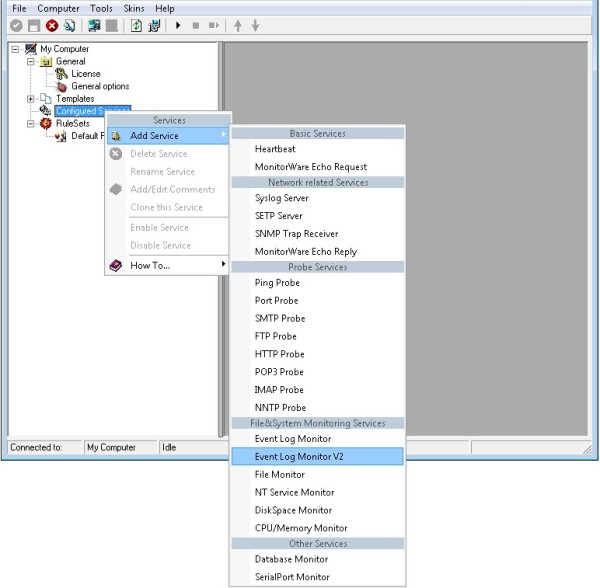
1. First, right click on “Services”, then select “Add Service” and then “Event Log Monitor V2”:

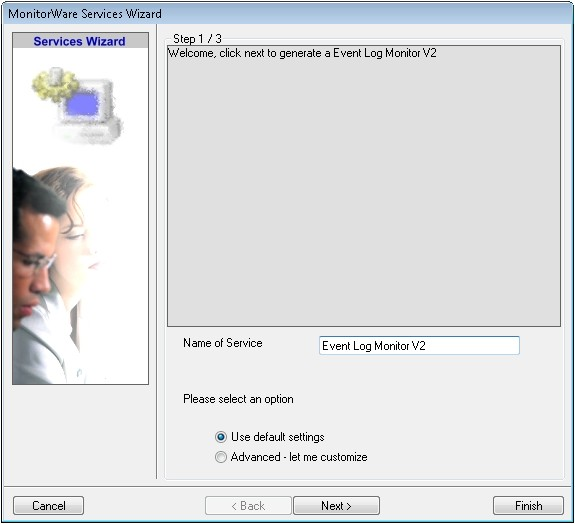
Again, you can use either the default name or any one you like. We will use the default name in this sample. Leave the “Use default settings” selected and press “Next”.

2. As we have used the default, the wizard will immediately proceed with step 3, the confirmation page. Press “Finish” to create the service. The wizard completes and returns to the configuration client.
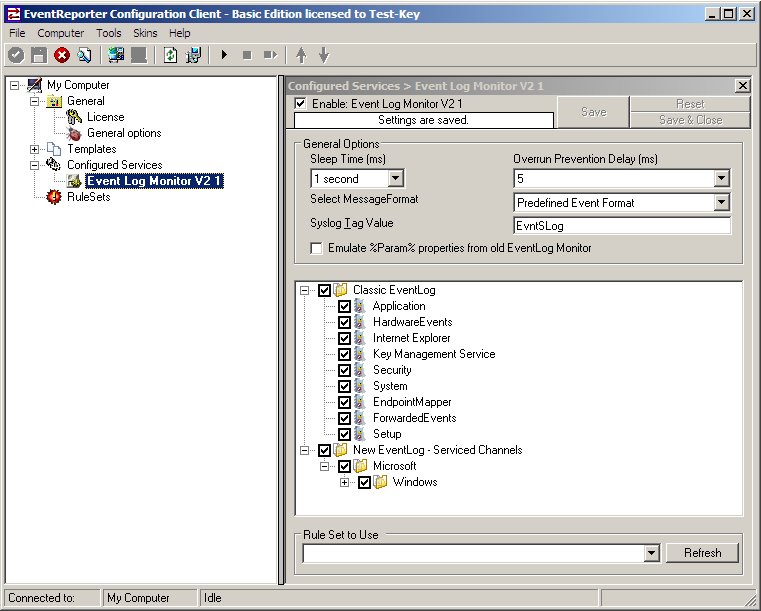
3. Now, you will see the newly created service beneath the “Services” as part of the tree view. To check its parameters, select it:

As you can see, the service has been created with the default parameters.
Note: The “Default RuleSet” has been automatically assigned as the rule set to use. By default, the wizard will always assign the first rule set visible in the tree view to new services.
4. Finally we, bind a ruleset to this service. If you already have a ruleset, simply choose one. If not, then you will have to create one, or insert the actions you want to take in the default ruleset.
Remember, this is only an example. You can do it in any way you want.

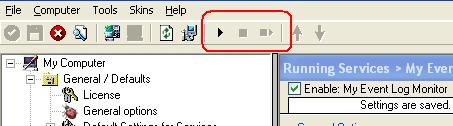
5. The last step is to save the changes and start the service. This procedure completes the configuration of the syslog server.

The NT Service cannot dynamically read changed configurations. As such, it needs to be restarted after such changes. In our sample, the service was not yet started, so we simply need to start it. If it already runs, you need to restart it.
That’s it. This is how you create a simple Event Log Monitor V2 for Vista.
How To setup EventLogMonitor V1 Service
Attention: This Guide is for Windows XP or 2003 if you use Vista or Win7 then use EventLogMonitor V2.
1. First, right click on “Services”, then select “Add Service” and then “Event Log Monitor”:
2. Once you have done so, a new wizard starts.
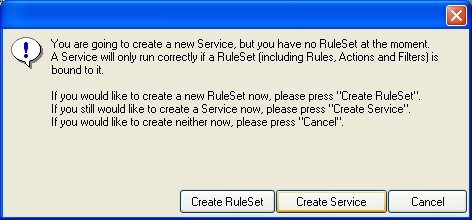
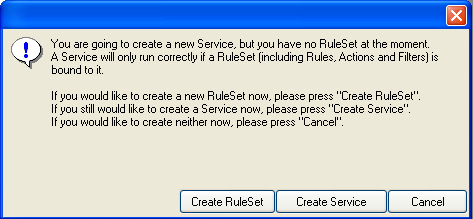
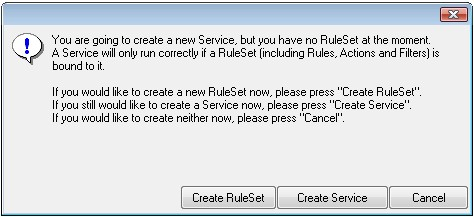
If the following Popup appears, please select “Create Service”:
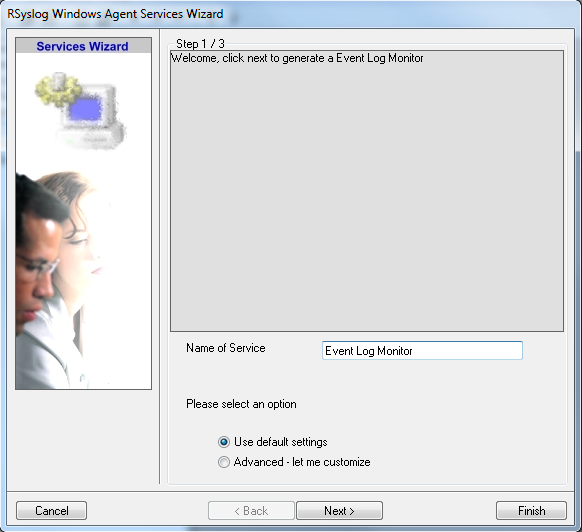
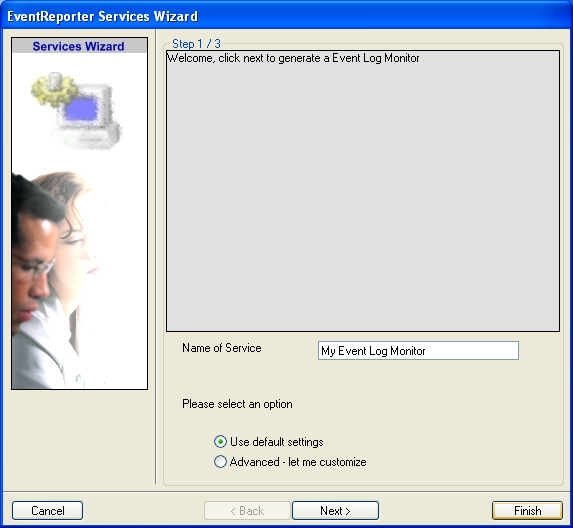
Again, you can use either the default name or any one you like. We will use “My Event Log Monitor” in this sample. Leave the “Use default settings” selected and press “Next”.
3. As we have used the default, the wizard will immediately proceed with step 3, the confirmation page. Press “Finish” to create the service. The wizard completes and returns to the configuration client.
4. Now, you will see the newly created service beneath the “Services” part of the tree view. To check its parameters, select it:
As you can see, the service has been created with the default parameters.
Note: The “Default RuleSet” has been automatically assigned as the rule set to use. By default, the wizard will always assign the first rule set visible in the tree view to new services. In our case, this is not correct and will be corrected soon.
5. Finally, save the change and start RSyslog Windows Agent.
That was it.
How To create a Syslog Server Service
Create a Syslog Server Service
Now we need to define a Syslog server service. A Syslog server is also sometimes called a “Syslog daemon”, “Syslogd” or “Syslog listener”. It is the process that receives incoming messages.
To define it, right click on “Services”, then select “Add Service” and the “Syslog Server”:
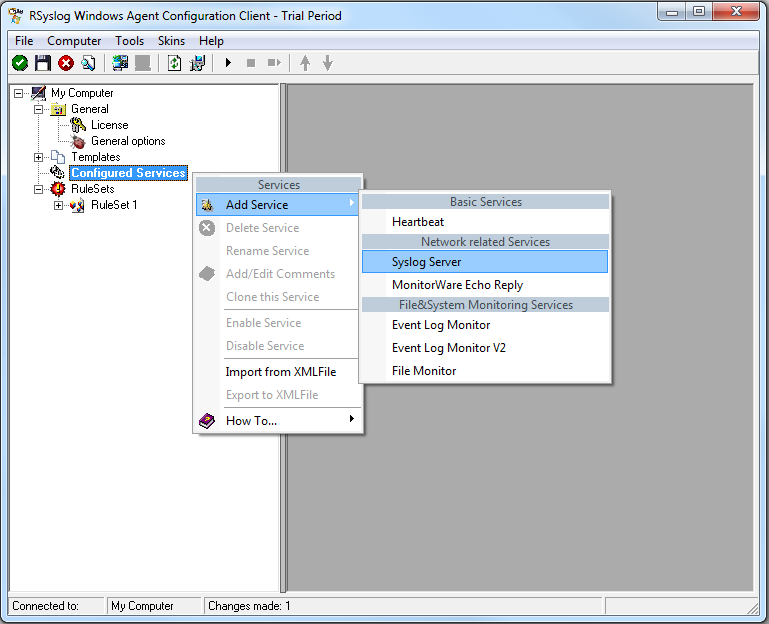
Once you have done so, a new wizard starts:
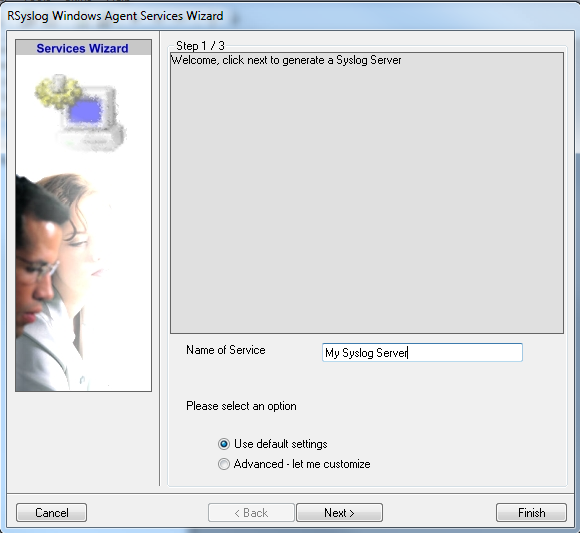
Again, you can use either the default name or any one you like. We will use “My Syslog Server” in this example. Leave the “Use default settings” selected and press “Next”:
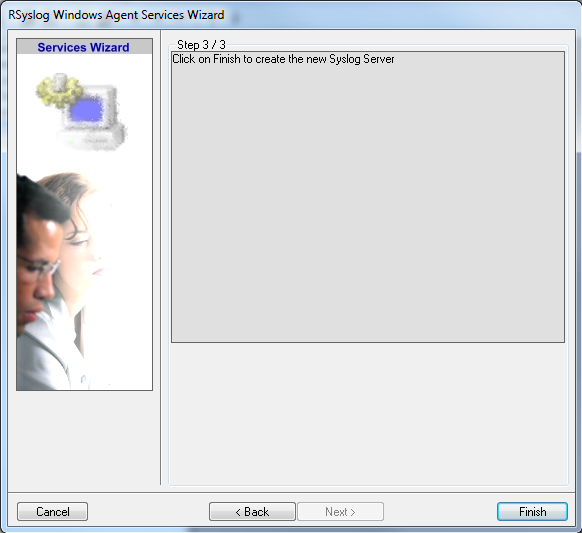
As we have used the default, the wizard will immediately proceed with step 3, the confirmation page. Press “Finish” to create the service. The wizard completes and returns to the configuration client. There, you will see the newly created service beneath the “Services” part of the tree view:
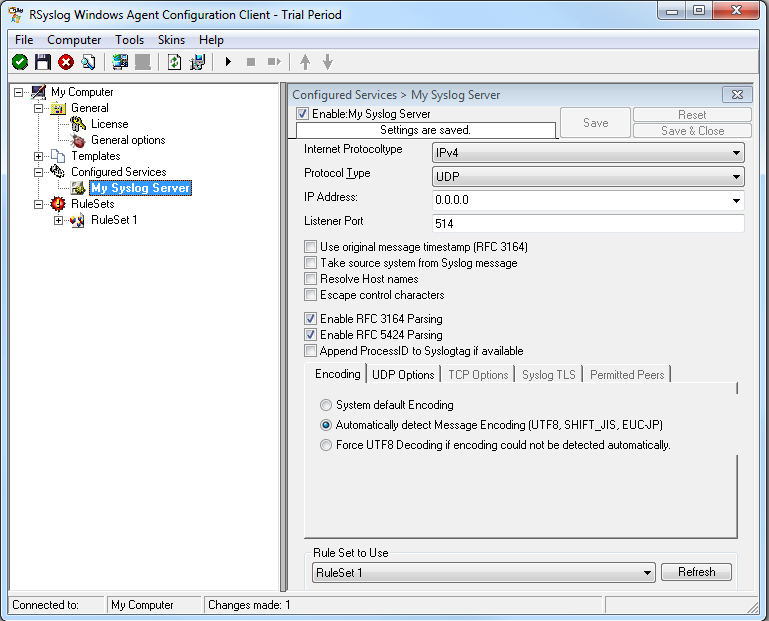
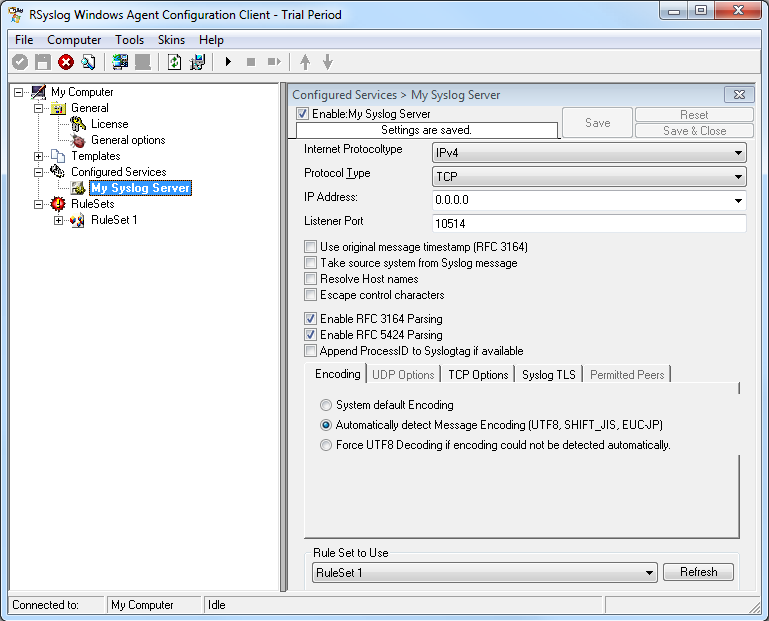
Attention: All clients must use the same protocol. In my example I use TCP.
As you can see, the service has been created with the default parameters. As such, it operates as a RFC compliant standard Syslog server.
Please note that the “RuleSet 1” has been automatically assigned as the rule set to use. This is the case because i already created it and it is the only rule set. By default, the wizard will always assign the first rule set visible in the tree view to new services. If another one is to be used, you need to change it to the correct one here in the service definition.
Also, note that the wizard uses the default properties from the “Service Defaults”. Obviously, if these are changed, the default properties for new services will differ.
This procedure completes the configuration of the Syslog server.
At least Save and restart the service.
How To setup the Forward via Syslog Action
This Guide is for the RSyslog Windows Agent.
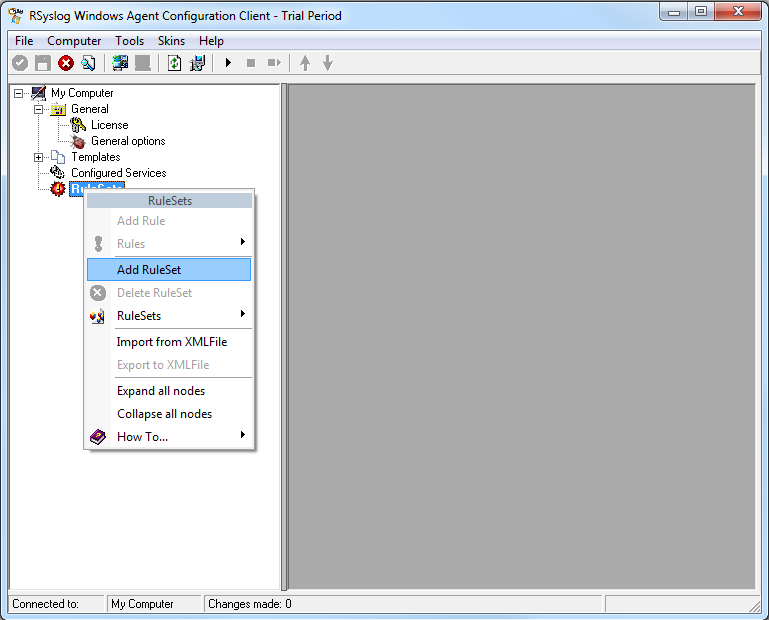
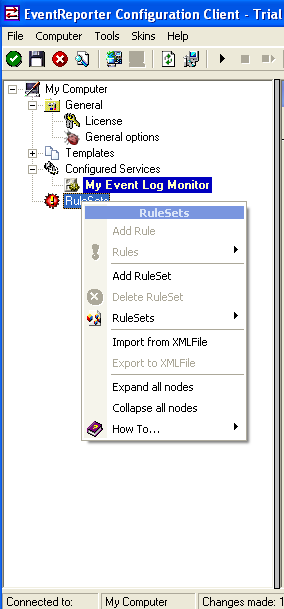
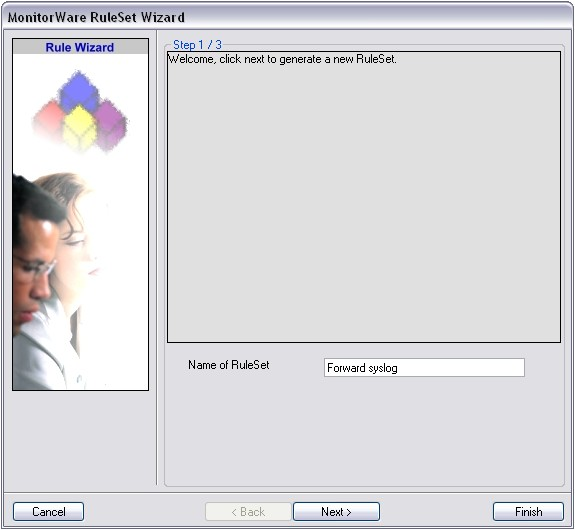
1. First we define a new rule set. Right-click “Rules”. A pop up menu will appear. Select “Add Rule Set” from this menu. On screen, it looks as follows:
2. Then, a wizard starts. Change the name of the rule to whatever name you like. We will use “Forward syslog” in this example. The screen looks as follow:
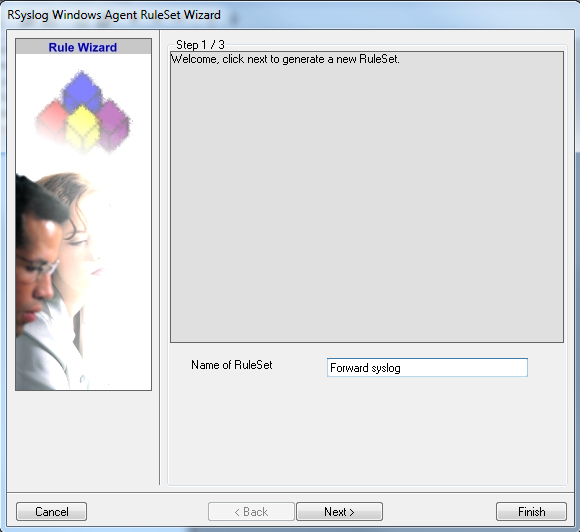
Click “Next” to go on with the next step.
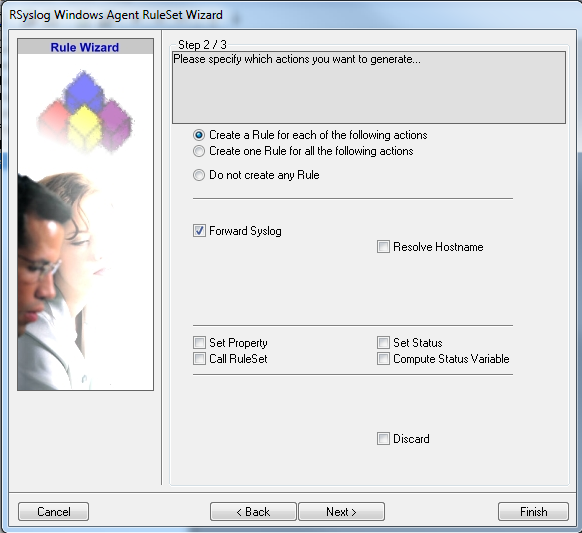
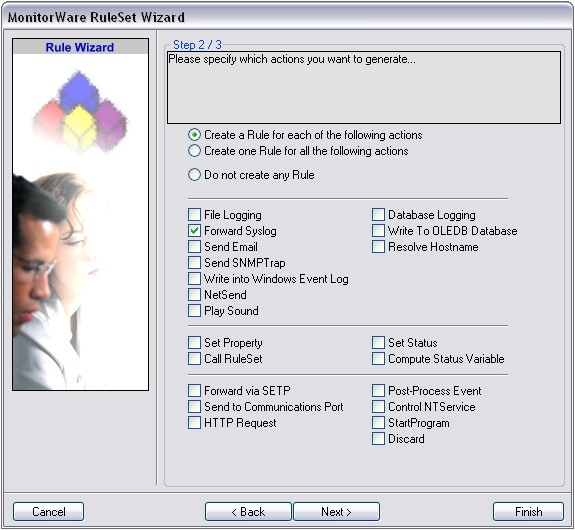
3. Select only Forward via Syslog. Do not select any other options for this sample. Also, leave the “Create a Rule for each of the following actions” setting selected. Click “Next”. You will see a confirmation page. Click “Finish” to create the rule set.
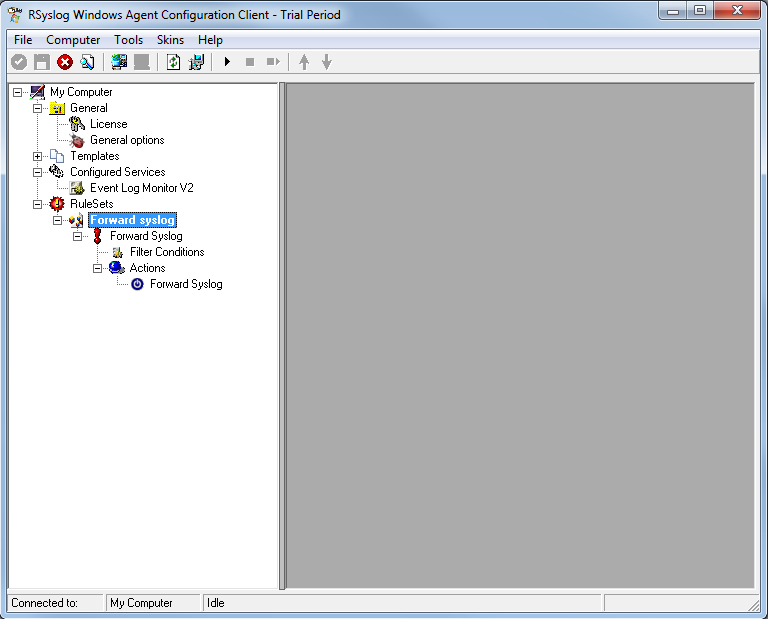
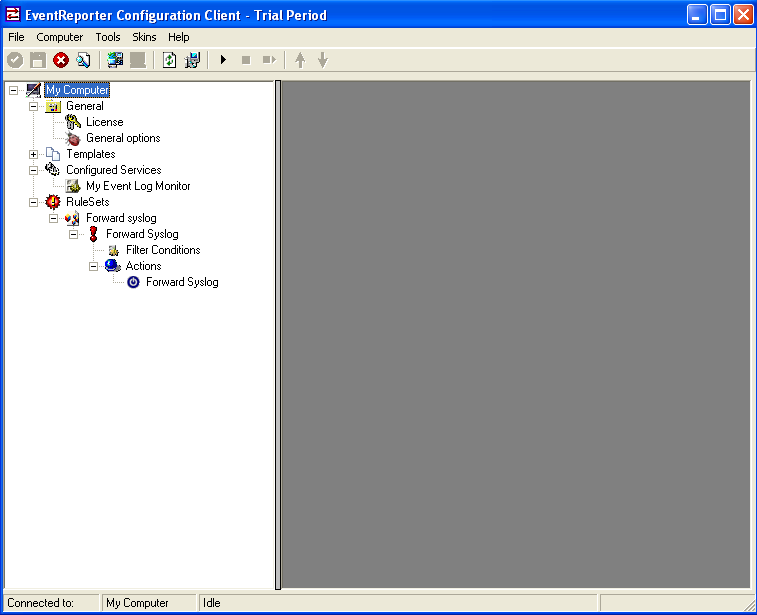
4. As you can see, the new Rule Set “Forward syslog” is present. Please expand it in the tree view until the action level of the “Forward syslog” Rule and select the “Forward syslog” action to configure.
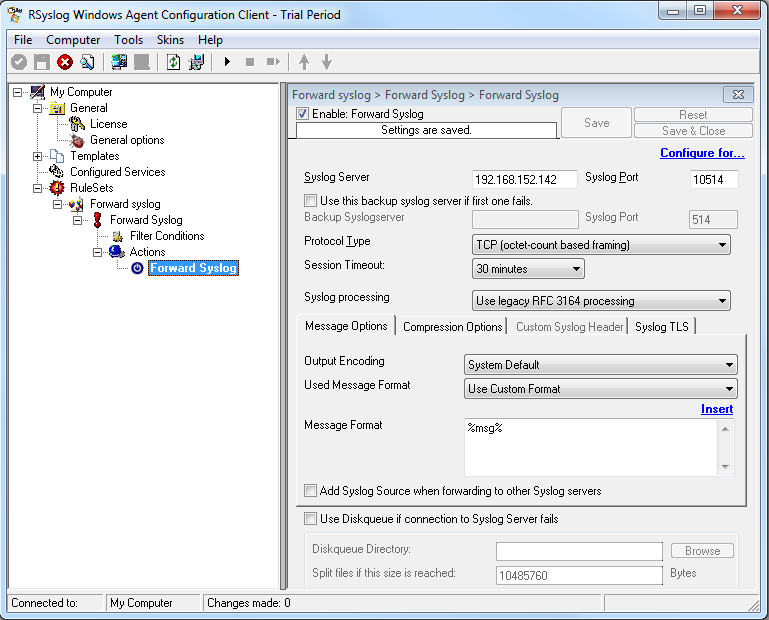
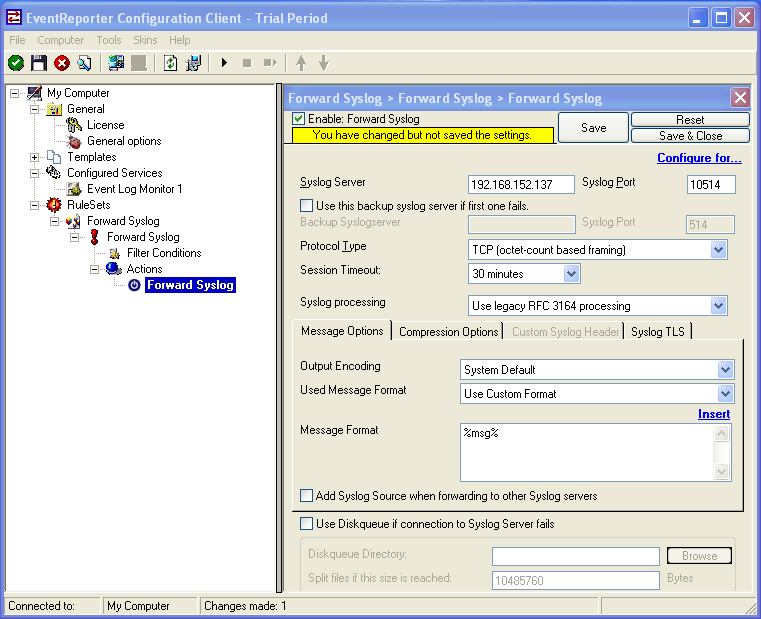
5. Configure the “Forward via Syslog” Action
Type the IP or the Hostname of your syslog server into the Syslog Server field in the form. Then Change the protocol to “TCP (octet-count based framing”. We use TCP that we will have no traffic lost. And edit the Port to 10514. Attention RSyslog Windows Agent and rsyslog must use the same port and the same protocol.
6. Finally, make sure you press the “Save” button – otherwise your changes will not be applied. Then start the service and you are done.
How to setup rsyslog to get Event Logs from a second maschine
The Article is applicable to all versions of EventReporter, MonitorWare Agent and rsyslog.
1. Configure EventReporter with a Service “Eventlog Monitor Service”.
Attention if you use Windows Vista or Windows 7 skip to step 1.2.
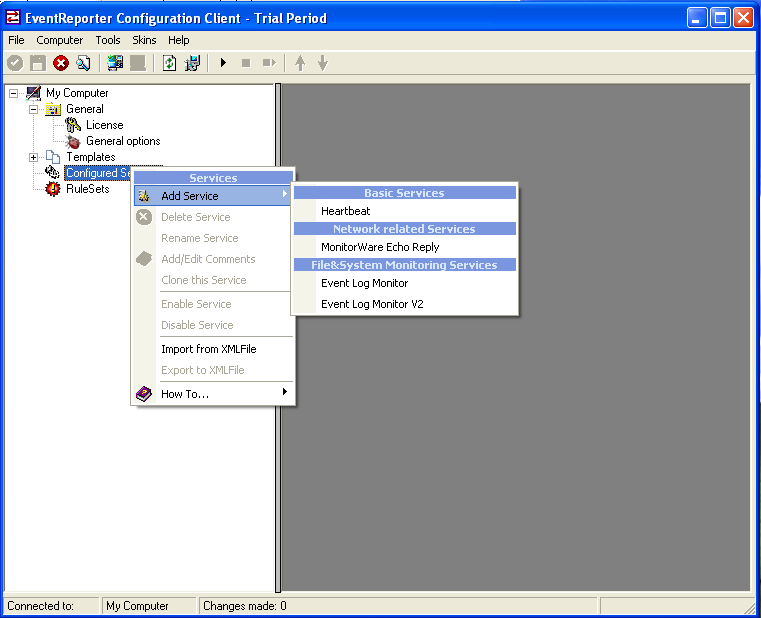
First, right click on “Services”, then select “Add Service” and then “Event Log Monitor”:
Once you have done so, a new wizard starts.
If the following Pop-up appears, please select “Create Service”:
Again, you can use either the default name or any one you like. We will use “My Event Log Monitor” in this sample. Leave the “Use default settings” selected and press “Next”.
As we have used the default, the wizard will immediately proceed with step 3, the confirmation page. Press “Finish” to create the service. The wizard completes and returns to the configuration client.
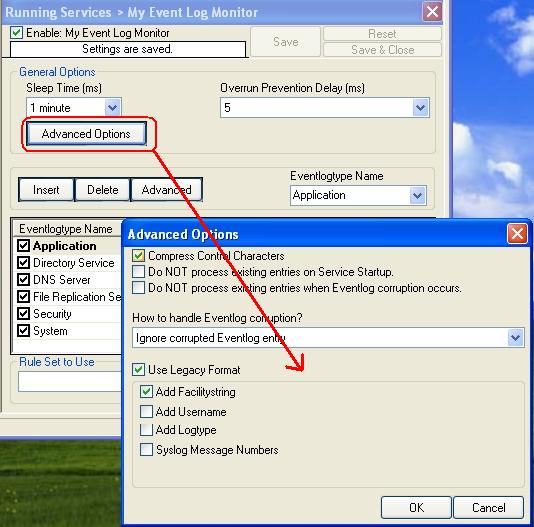
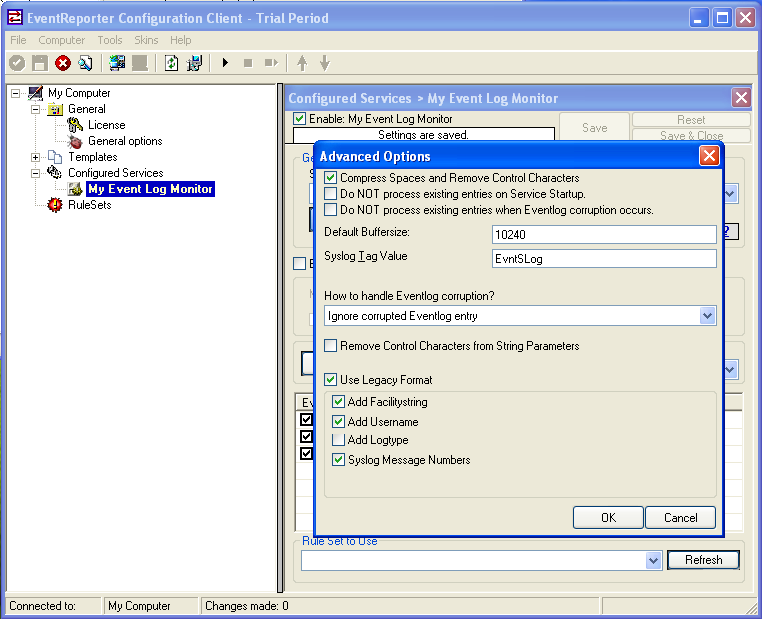
Now, you will see the newly created service beneath the “Services” part of the tree view. To check its parameters, select it. Click on Advanced Options then select “Use Legacy Format” :
1.2 Configure EventReporter with a Service “Eventlog Monitor Service 2”.
Note: This guide explains how to set up the EventLog Monitor Service for Windows Vista. These steps are not applicable if you are using Windows XP.
First, right click on “Services”, then select “Add Service” and then “Event Log Monitor V2”:
Once you have done so, a new wizard starts.
If the following Popup appears, please select “Create Service”:
Again, you can use either the default name or any one you like. We will use the default name in this sample. Leave the “Use default settings” selected and press “Next”.
As we have used the default, the wizard will immediately proceed with step 3, the confirmation page. Press “Finish” to create the service. The wizard completes and returns to the configuration client.
Now, you will see the newly created service beneath the “Services” as part of the tree view. To check its parameters, select it:
As you can see, the service has been created with the default parameters.
2. Add a “Forward via Syslog” Action.
First we define a new rule set. Right-click “Rules”. A popup menu will appear. Select “Add Rule Set” from this menu. On screen, it looks as follows:
Then, a wizard starts. Change the name of the rule to whatever name you like. We will use “Forward syslog” in this example. The screen looks as follow:
Click “Next” to go on with the next step.
Select only Forward via Syslog. Do not select any other options for this sample. Also, leave the “Create a Rule for each of the following actions” setting selected. Click “Next”. You will see a confirmation page. Click “Finish” to create the rule set.
As you can see, the new Rule Set “Forward syslog” is present. Please expand it in the tree view until the action level of the “Forward syslog” Rule and select the “Forward syslog” action to configure.
3. Configure the “Forward via Syslog” Action.
Now, we are going to configure the necessary settings for forwarding via syslog. Type the IP or the hostname of your syslog server into the Syslog Server field in the form. Then Change the protocol to “TCP (octet-count based framing”. We use TCP that we will have no traffic lost. And edit the Port to 10514. Attention EventReporter and rsyslog must use the same port and the same protocol.
4. Configure Event Log Monitor which Rule to use.
Then Left-Click on Event Log Monitor then change “Rule Set to Use” to your Rule set. On the screen, it looks as follows:

5. Setup rsyslog for TCP reception
Now, we are going to configure the necessary settings for the TCP reception. Because EventReporter forward via syslog over a TCP connection so rsyslog must reception TCP.
Then open the rsyslog configuration. The normal path is “/etc/rsyslog.conf” and copy and paste this code into the Configuration.
Use this code for the TCP Syslog reception:
# Provides TCP Syslog reception
$ModLoad imtcp.so
$InputTCPServerRun 10514
If you use a UPD connection then use this code:
# Provides UDP syslog reception
$ModLoad imudp.so
$UDPServerRun 10514
Please restart rsyslog afterwards.
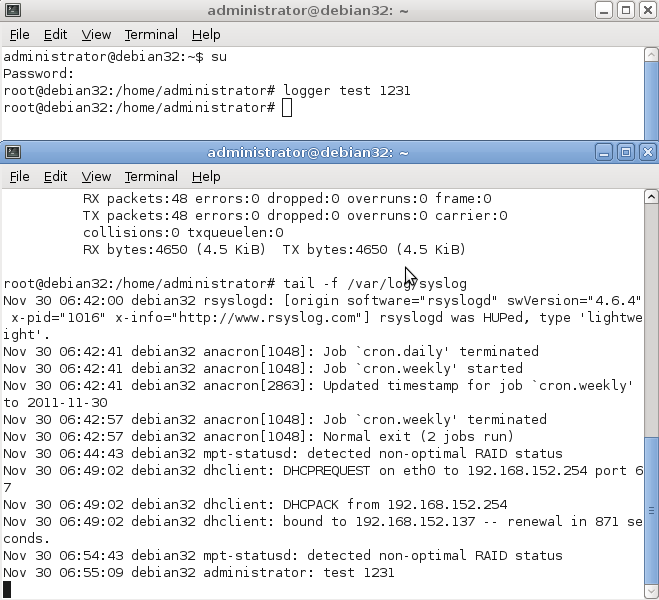
6. Test rsyslog
First switch to your Unix machine then open a new command prompt under Unix then type “tail -f /var/log/syslog”. With this command you now see all log messages which rsyslog receive.
Then open a new command prompt and write “logger test 1231”. Then you must see the message in the first command prompt.
On the screen, it looks as follows:
7. Verifying the configuration of rsyslog and EventReporter
First open a new command prompt under Unix then type “tail -f /var/log/syslog”.
Then switch to the second machine and start EventReporter. Then switch to your Unix machine and watch the command prompt there you see the incoming “Eventlogs” in the command prompt.
On the screen its look like:
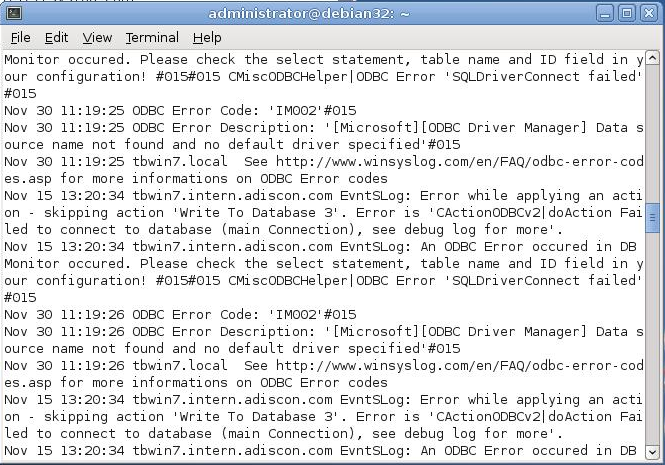
If nothing arrive then check your EventReporter and rsyslog configuration if both use the same port and if both use the same protocol.
That’s it. This is how to receive syslog data from another device.
rsyslog 5.8.6 (v5-stable)
Download file name: rsyslog 5.8.6 (stable)
rsyslog 5.8.6 (stable)
md5sum: c46db0496066b82faf735bd4222208d7
Author: Rainer Gerhards (rgerhards@adiscon.com)
Version: 5.8.6 File size: 2.373 MB
rsyslog 5.8.6 (v5-stable) released
This is a maintenance release offering bug fixes. For example for a small bug in property-based filter and a fix for $ActionExecOnlyOnce and more .For more detailed information, please read the changelog.
ChangeLog:
http://www.rsyslog.com/changelog-for-5-8-6-v5-stable/
Download:
http://www.rsyslog.com/rsyslog-5-8-6-v5-stable/
As always, feedback is appreciated.
Best regards,
Tim Eifler