The easiest way to setup the rsyslog AWS application is via the AWS Marketplace.
Subscribe to the rsyslog App and follow the instructions found on the AWS Marketplace.
A Cloud Formation File will be provided by the AWS Marketplace automatically during the setup.
Follow the Step-by-Step Instructions here: Navigate through the detailed guide provided below to complete the setup process effortlessly. By adhering to these steps, you ensure a hassle-free and efficient setup of the rsyslog AWS application.
Once completing the setup and your CloudFormation Stack is being deployed, you’re not just “all set” – you’re fully empowered to explore the extensive capabilities of the rsyslog AWS application. You can now efficiently manage logs, monitor system events, and leverage advanced features to optimize your cloud-based logging solution. Start diving into its functionalities to make the most out of your newly configured system.
Note that you need to configure your syslog clients to send messages to your new app. For rsyslog clients, just add
*.* @ip-of-your appliance
to the top of the client’s /etc/rsyslog.conf. If you’re operating with different kinds of clients, like Cisco devices or various routers, you’ll need to use their native configuration tools to specify the syslog destination. As a starting point, we advise sending syslog messages over UDP for optimal performance and simplicity.
This ensures that your entire logging ecosystem is seamlessly integrated, making the most out of the advanced features and capabilities your new rsyslog AWS App offers.
In any case, be sure to use a private IP address for your rsyslog appliance. Using a public address requires proper firewalling, which needs to be tailored to your specific needs. With a public IP address and no firewall rules, any host can send messages to your appliance, including fake messages. This could also easily be abused to cause a denial of service, by simply filling your disk. So ensure that you do use a private address space IP address.
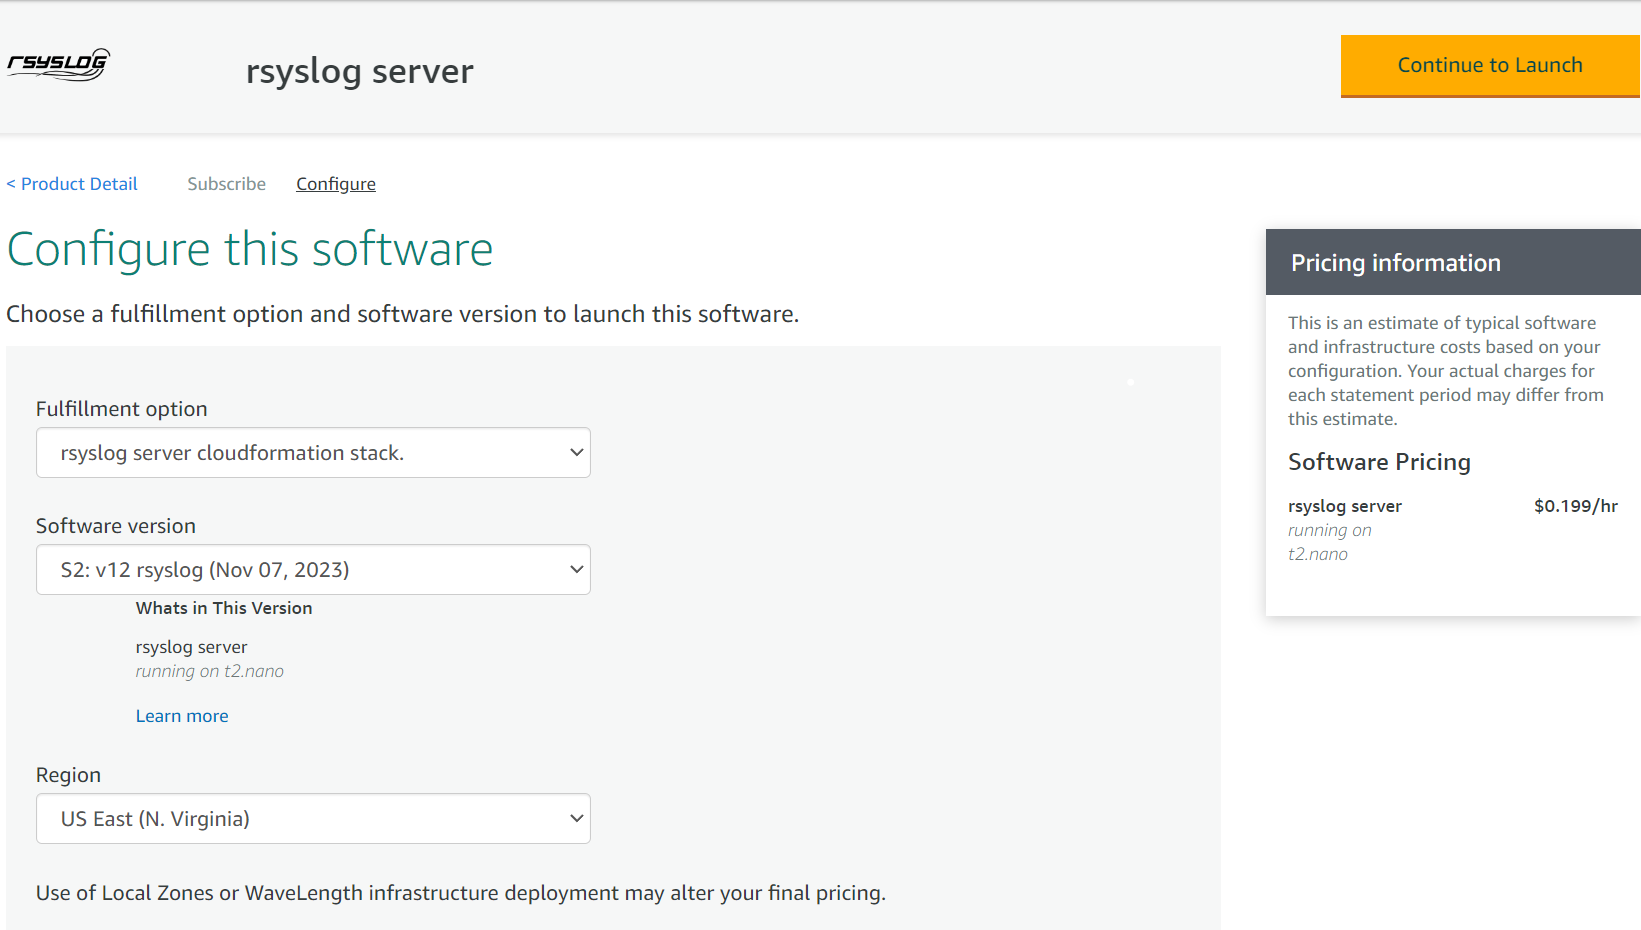
Step 1: Configure this Software
Select Software Version and Region for your.
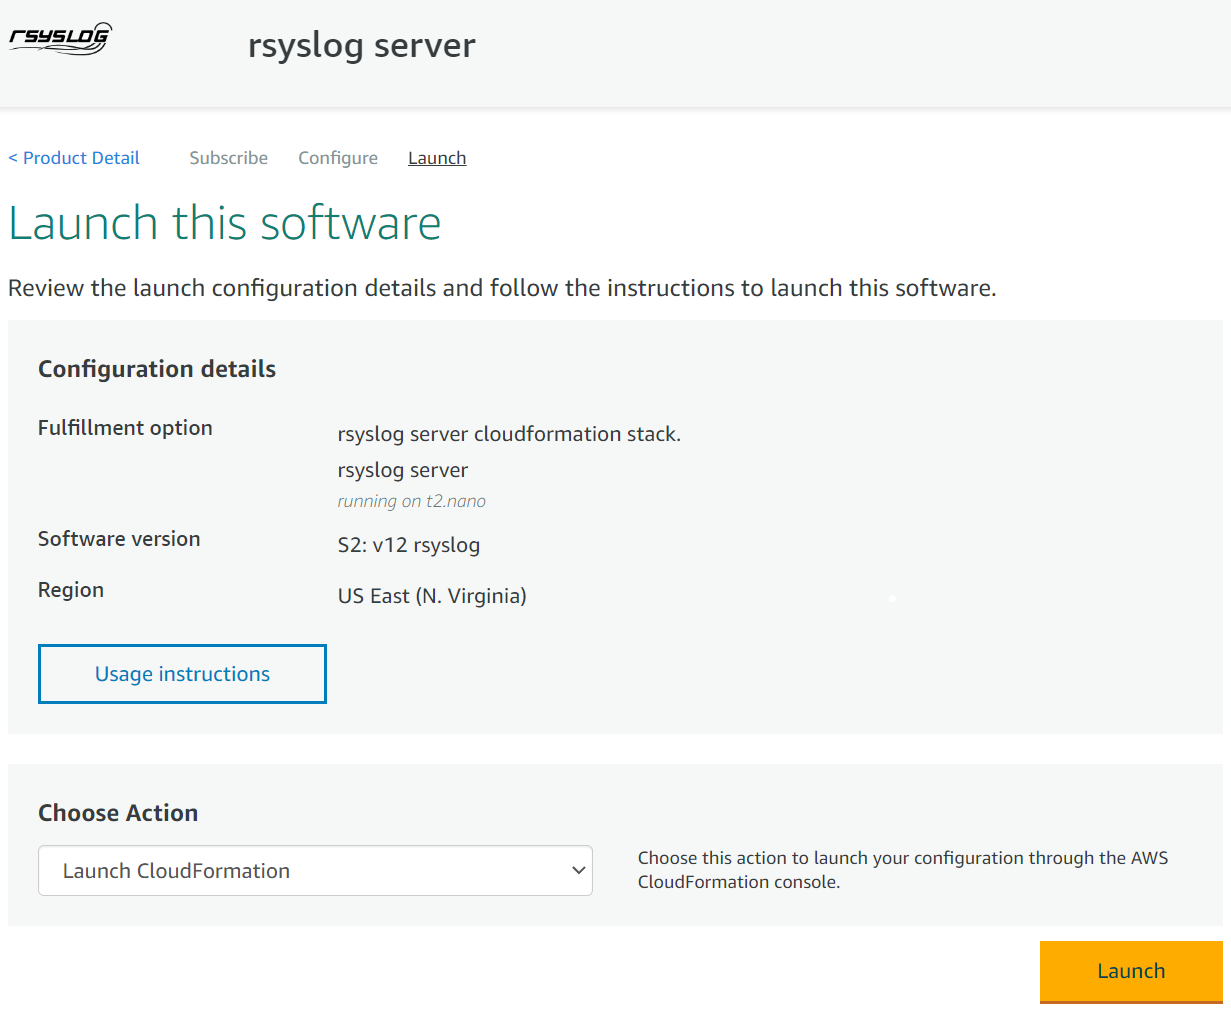
Step 2: Launch this software
Ready to go by clicking on Launch.
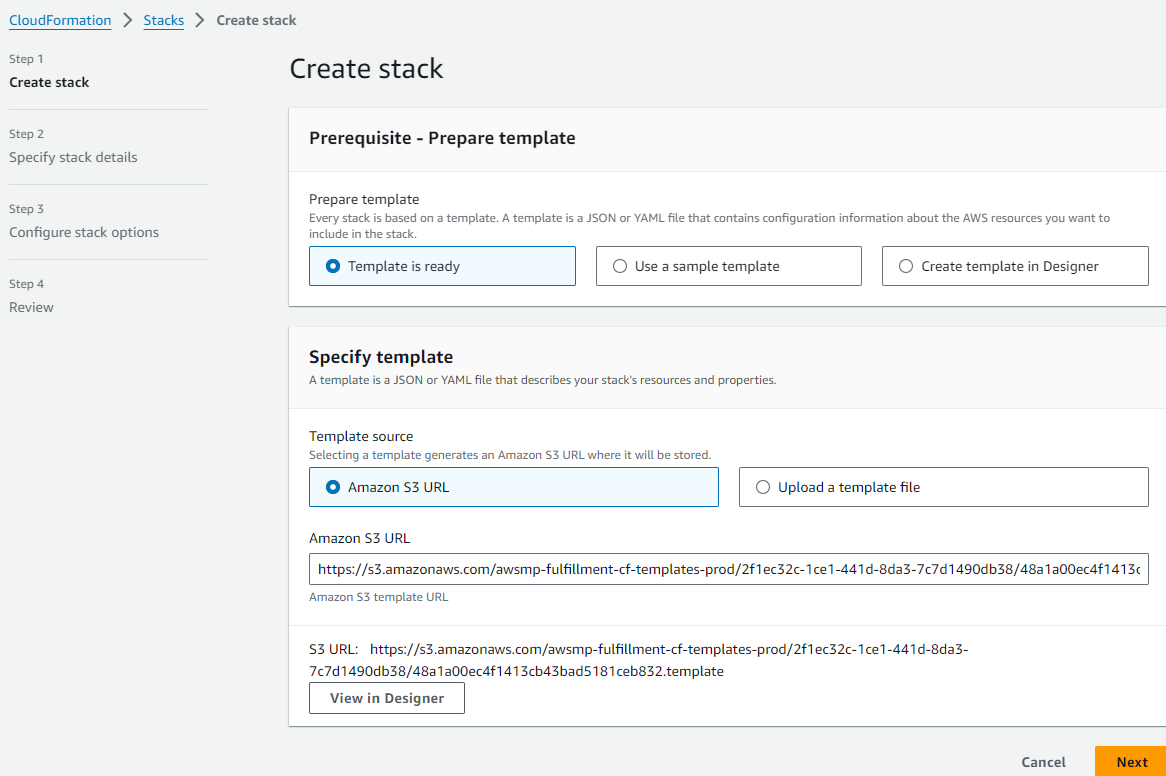
Step 3: Create Stack
This will bring you to the Create Stack where are fields including the Cloudformation File URL, click on Next for Options
Step 4: Configure CloudFormation Stack Options
Parameters:
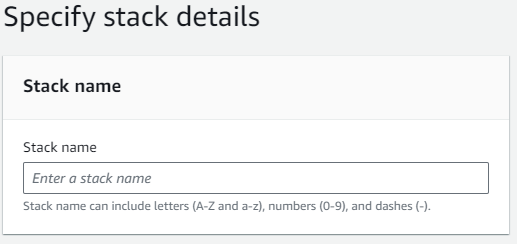
Stack name
Description: Name of the new Stack for this deployment.
Type: String
Setting a Name for the CloudFormation stack
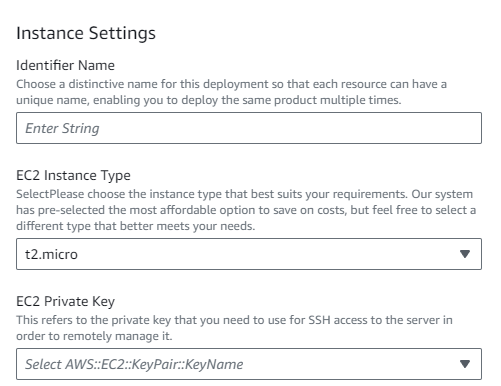
Instance Settings
Description: Your basic properties like Distinctive name, Instance Type and EC2 Private Key which will be used for certificate based login.
EC2 Instance Type
Description: Choose the EC2 instance type.
Type: String
Default: t2.micro
Allowed Values: t3.micro, t2.micro, etc.
EC2 Private Key
Description: Private key for SSH access.
Type: AWS::EC2::KeyPair::KeyName
Network Settings
Description: Basic Network Settings for your new instance. If you do not select VPC ID or Private Subnet, the Cloud Formation Stack will create new ones automatically.
Local Instance IP
Description: Specific local IP address for the instance within the chosen subnet.
Type: String
VPC ID
Description: Choose the VPC for deployment.
Type: AWS::EC2::VPC::Id
Private Network
Description: ID of the subnet for instance deployment.
Type: AWS::EC2::Subnet::Id
VPC CIDR
Description: CIDR block for the selected VPC.
Type: String
Default: 0.0.0.0/0
Storage Settings
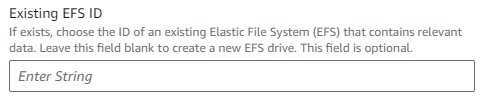
Existing EFS ID
Description: ID of existing Elastic File System (optional).
Type: String
Optionally selecting an existing EFS System ID.
rsyslog customization
rsyslog logfile store path
Description: Path for syslog output logs.
Type: String
Default: /var/log/rsyslog.store/
Specifying the path where syslog output logs will be stored.
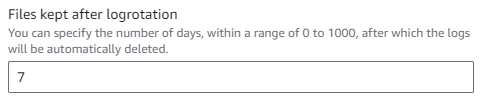
Files kept after logrotation
Description: Number of days after which logs will be deleted.
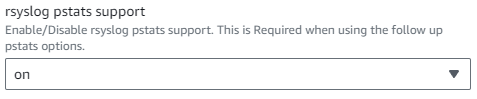
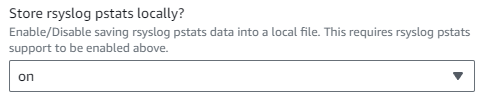
Description: Enable/Disable the storage of rsyslog performance statistics (pstats) on the local system. When enabled, it ensures that the metrics related to rsyslog’s operational performance are captured and stored locally, facilitating easy access and analysis without relying on external storage solutions.
Type: String
Default: ‘on’
Store rsyslog pstats locally?
Configuring local file saving for rsyslog pstats data.
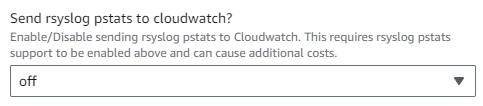
Send rsyslog pstats to cloudwatch?
Description: Enable/Disable the functionality to transmit rsyslog statistics (pstats) to AWS CloudWatch
When enabled, the feature gathers and forwards metrics pertaining to the performance and behavior of rsyslog. Concurrently, an AWS CloudWatch dashboard is auto-generated, providing a visual representation of the data. For this feature to work, an AWS::IAM::Role called offical_rsyslog_cloudwatch_<Identifier Name> is created automatically, granting the necessary permissions to utilize the CloudWatch Agent for data transmission. Note that enabling this feature may cause additional charges on your AWS account.
Type: String
Default: ‘off’
Configuring the sending of rsyslog pstats to AWS Cloudwatch.
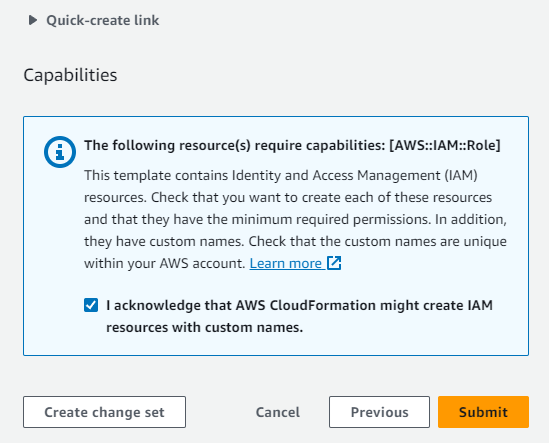
Step 5: Review and Create Stack
Review your configurations.
Click “Create Stack”.
Reviewing all configurations before creating the CloudFormation stack.
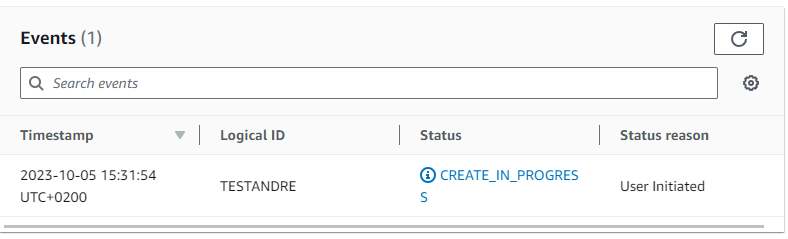
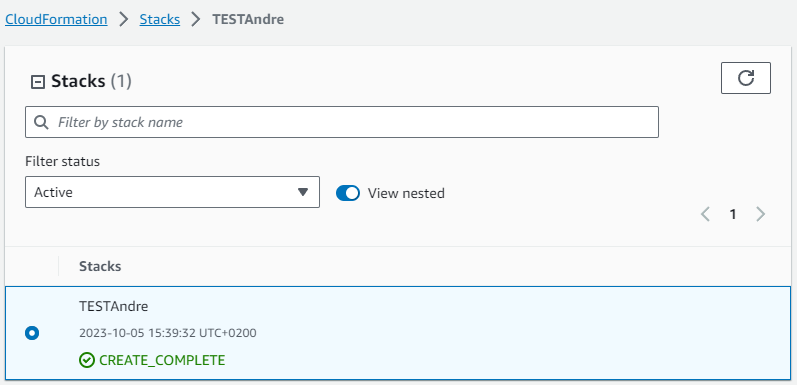
Step 6: Monitor Stack Creation
You will be redirected to the “Stack Detail” page.
Monitor the stack creation process until it’s completed.
Monitoring the stack creation process in the AWS Console.
Step 7: Verify Resources and Outputs
Once the stack is successfully created, you can verify the resources and outputs.
Navigate to the “Outputs” and “Resources” tabs.
Verifying the resources and outputs after successful stack creation.
Conclusion
If you reached this step you’ve successfully created an AWS CloudFormation Stack for a AWS rsyslog. You can now manage your rsyslog service via this stack.
rsyslog.com uses cookies to ensure that we give you the best experience on our website. If you continue to use this site, you confirm and accept the use of Cookies on our site. You will find more informations in our Data Privacy Policy.